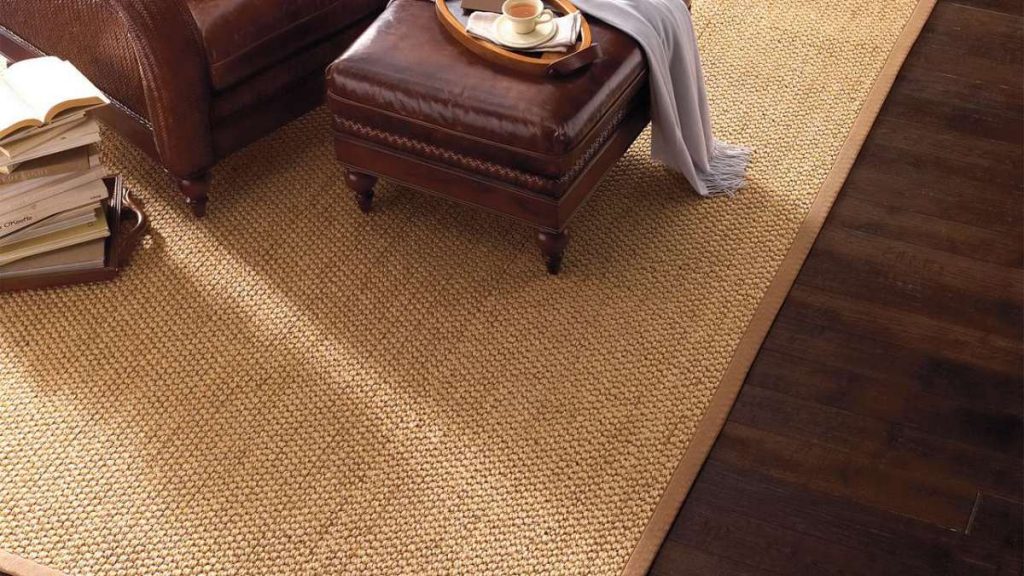
Coir mats are one of the strongest and most popular types of matting available, and they are the ideal eco-friendly entrance matting. Manufactured from coconut husks, their coarse texture gives a great scraping effect that effectively wipes dirt and moisture off footwear to keep your floors clean.
So whether you’re fitting a coir door mat for the first time or replacing an old and worn out one, follow these tips for a successful and hassle-free installation.
How to Cut Coir Matting
If you need coir matting placed in an oddly-shaped space, or you are unsure of the exact measurements of where it’s going, it’s a good idea to purchase a larger size and cut it down to fit your requirements.
This may sound like a tricky job considering the pile thickness of coir matting, but there is no need to worry as cutting down coir matting is very simple. Just follow these steps:
1. Measure the area: using a tape measure or a metal ruler, measure and make a note of the length and width of the desired area. If you are planning on placing the matting into a well, it’s important to measure the depth too.
Tip: ensure that you measure all sides as you may find one side is a few centimetres shorter than the other, even though they look the same.
2. Mark your matting: once you have a complete set of accurate measurements, it’s time to mark the mat where you need to cut. It’s very difficult to mark the upside of coir matting, so turn it over and draw an outline of your measurements on the backing using biro or a permanent marker.
Tip: remember that if cutting an unusual shape, you’ll need to “flip” the measurements for when you turn the mat the right side up.
3. Cut the matting: with the outline complete on the back, use a Stanley knife (or a similar sharp tool) to carefully cut through the matting. Although the coir itself is very thick, you only need to cut through the PVC backing. If you find the coir is tangled as you are pulling two pieces apart, simply run the knife over the area a few more times to separate them.
Tip: even though you are just cutting through the backing, make sure you are not working on a surface that can be easily damaged if the knife cuts all the way through.
4. Place the matting: once the cutting stage is over and you have the desired size, you can place the mat into its new home! By following the steps above it should be a perfect fit but, if not, the edges can always be trimmed as needed.
Tip: being a natural material, coir does tend to shed a few fibres when new. Vacuum over the surface after fitting the mat to remove most of the loose fibres.
Can I Install My Coir Matting Outside?
Yes, but not all types of coir mats are suitable for use outdoors. PVC-backed mats are not recommended for outdoor use as they prevent any rainwater from draining away leading to rotting of the fibres.
If you do want to install a coir mat outside, choosing one with a woven backing, or no backing at all is best. This way rainwater can drain through and doesn’t cause mould to grow between the coir fibres.
A good tip is to prop the mat up against a wall or fence to allow rainwater to disperse from the mat and air to circulate through the pile and backing.
How do I Care for My Newly Installed Coir Matting?
Regularly cleaning your matting is the best way of keeping it in tip-top shape, from when you first install it and all through the years that it is used. A very simple way to do this is to remove the mat every so often and give it a shake outside. This removes any loose dirt or mud that has built up in the pile.
For a deeper clean, you can use dry cleaning powders that can reach right into the roots of the mat. To do this, sprinkle the cleaning powder (or a mixture of cornstarch and baking soda works, too) liberally all over the mat and leave for 30 minutes to absorb. Then use a vacuum cleaner to hoover up the powder, removing all the dirt with it.
How can I Stop my Coir Doormat from Moving Around?
Coir matting that is fitted with a PVC backing shouldn’t have the issue of sliding around. However, if you require your mat to be more secure or your mat does not have a backing, then consider purchasing an underlay.
An underlay works by creating friction between the back of the mat and the floor and does not require adhesive when installing, so there is no risk of damage to your floors.

