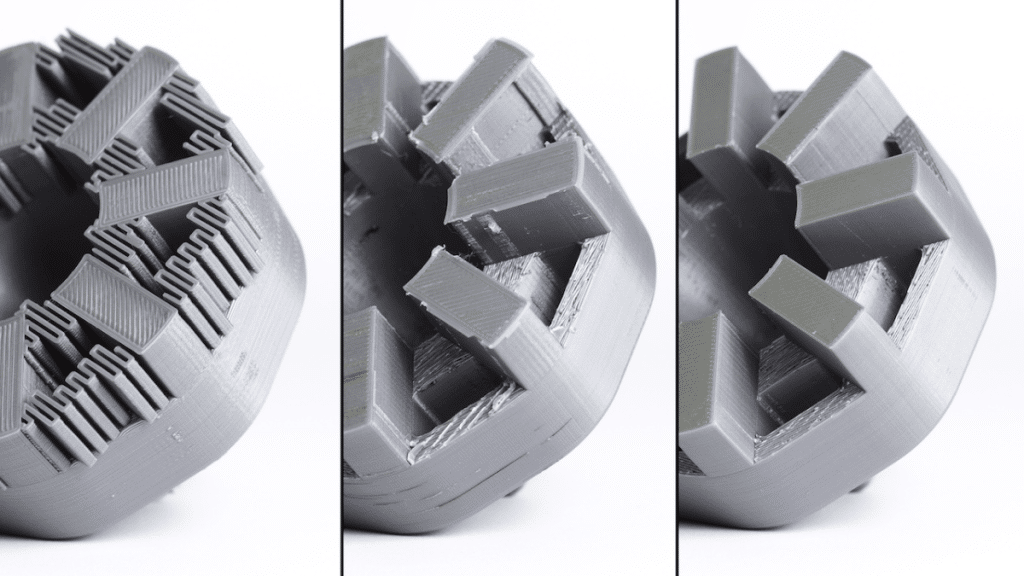
3D printing is an incredible technology that allows hobbyists and professionals alike to bring their digital designs to life. However, straight off the print bed, 3D prints often require a bit of extra work to achieve a polished, professional look – this is where post-processing techniques come into play.
From sanding to painting, post-processing can significantly enhance the aesthetics and functionality of your 3D printed objects. In this guide, we’ll explore some of the most effective post-processing methods, how different filaments respond to these techniques, and the tools and materials you’ll need to get started.
Sanding – Smooth Out the Rough Edges
Sanding is one of the most common post-processing techniques used to smooth out the layers and remove imperfections from 3D printed objects. It can transform a rough print into a sleek, smooth model, ready for further finishing.
Steps for Effective Sanding:
- Start with a Coarse Grit: Begin with a coarse sandpaper (around 100-200 grit) to remove the most significant layer lines and imperfections.
- Progress to Finer Grits: Gradually move to finer grits (400, 800, 1000, and even up to 2000) to achieve a smooth finish. Sand in a circular motion to avoid noticeable patterns.
- Wet Sanding: For the final stages, consider wet sanding. This involves using water to lubricate the sandpaper, which helps achieve a very smooth surface and reduces dust.
Tools and Materials Needed:
- Sandpaper (various grits)
- Sanding blocks or sponges
- Water (for wet sanding)
Painting – Add Colour and Character
Painting your 3D prints not only adds colour, but it also allows for unique designs and finishes that can’t be achieved with filament alone. Whether you’re aiming for a realistic look or a vibrant, artistic finish, painting can make a substantial difference.
Steps for Painting Your 3D Prints:
- Priming: Apply a primer to the sanded print to ensure that the paint adheres well. Primers also help in highlighting any remaining imperfections.
- Base Coat: Apply a base coat of paint; this sets the foundation for your final colours.
- Detailing: Use finer brushes or airbrushes for detailed work – this is where you can add shadows, highlights, and other intricate details.
- Sealing: Once the paint is dry, seal it with a clear coat to protect the paint and give your print a polished look.
Tools and Materials Needed:
- Primer
- Acrylic or spray paints
- Brushes and/or airbrush
- Clear coat (sealer)
Other Finishing Techniques
Beyond sanding and painting, there are several other techniques to consider for post-processing your 3D prints.
- Vapour Smoothing: This technique uses solvents like acetone (for ABS) to smooth the surface of the print. The vapour melts the outer layer of the plastic slightly, resulting in a glossy, smooth finish.
- Heat Treating: For some filaments, gently heating the surface with a heat gun can help in removing minor imperfections and giving a smoother finish. Be careful with this method though, as too much heat can deform your print.
- Filling and Priming: For prints with larger gaps or holes, filling them with putty or a similar filler before sanding and painting can help achieve a flawless finish.
How Different Filaments Respond to Post-Processing
Different filaments react differently to post-processing techniques. Understanding these differences is crucial for achieving the best results.
- PLA (Polylactic Acid): PLA is easy to sand and paint but can be brittle. It does not respond well to heat treating or vapour smoothing.
- ABS (Acrylonitrile Butadiene Styrene): ABS sands and paints well and is also ideal for vapour smoothing. However, it emits fumes when heated, so always work in a well-ventilated area.
- PETG (Polyethylene Terephthalate Glycol): PETG is tougher and more heat resistant than PLA and ABS, but it can be challenging to sand due to its flexibility.
- TPU (Thermoplastic Polyurethane): TPU 3D printing filament is flexible and durable, making it ideal for applications requiring elasticity. However, its flexibility makes it more challenging to sand and paint.
Ready to enhance your 3D prints?
Post-processing is an essential step in the 3D printing workflow, turning raw prints into professional-quality models. Whether you’re sanding, painting, or using other techniques, each step enhances the final product’s appearance and durability. By understanding how different filaments respond to these techniques and having the right tools and materials, you can achieve stunning results with your 3D prints. So, roll up your sleeves and get ready to transform your prints into masterpieces. Happy printing!

