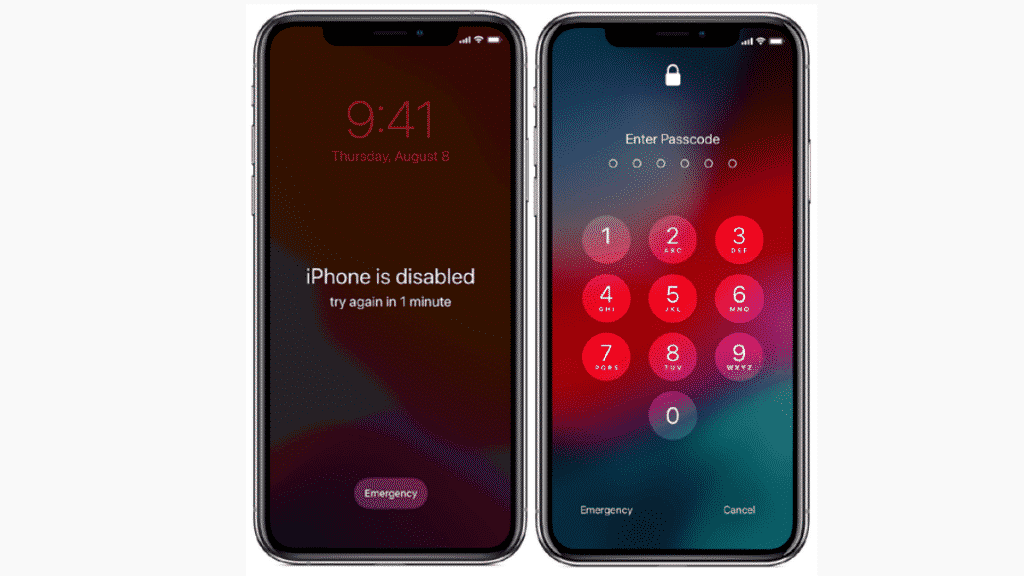
It can be frustrating to have your iPhone disabled! However, it happens to many iPhone users when they lose or forget iPhone passcodes. Regardless of the reason, if you are looking for answers to unlock iphone without passcode, this article will teach you how to fix a disabled iPhone. Let’s explore some of the best tried and tested ways on Dr.Fone – Screen Unlock.
It’s no secret that the iPhone has changed how we live and work. A decade ago, Apple introduced the concept of the iPhone. The then CEO, Steve Jobs, stated that the tech company would re-invent the phone. True to his words, we’ve seen massive developments in numerous iOS devices, from watches, tablets to headphones. High-end iOS devices have been unveiled year after year, with the new iPhone 13 and iOS 15 revolutionizing the phone industry. Despite the significant improvements, the security feature is left to the user, and sometimes you could forget or lose the password and get the iPhone disabled error. Below is how to fix a disabled iPhone.
Using iTunes to Unlock iPhone without Passcode
If your iPhone gives you the “iPhone is disabled, connect to iTunes” error, connect the device to iTunes, and restore it. The process will erase everything on your device include the passcode. Since restoring your device with iTunes will erase all your data, you should connect it to a PC or Mac that you’ve previously synced your device to.
Step 1: Connect your device to the computer and open iTunes
Step 2: Select the iPhone icon, click “Summary” on the left pane, and select Back Up Now to create an iTunes backup.
Step 3: Click on the Restore iPhone option and follow the on-screen guidelines to finish the process.
Step 4: The restoration process will wipe clean your phone and restore it as a brand new device. The iOS setup assistant will then prompt you to set up your iPhone, select “Restore from iTunes backup. Select the device in iTunes and select the most recent backup of your device.
Unfortunately, if you’ve never synced your device with iTunes, you’ll get some errors because it has a passcode applied. You’ll need to follow these steps:
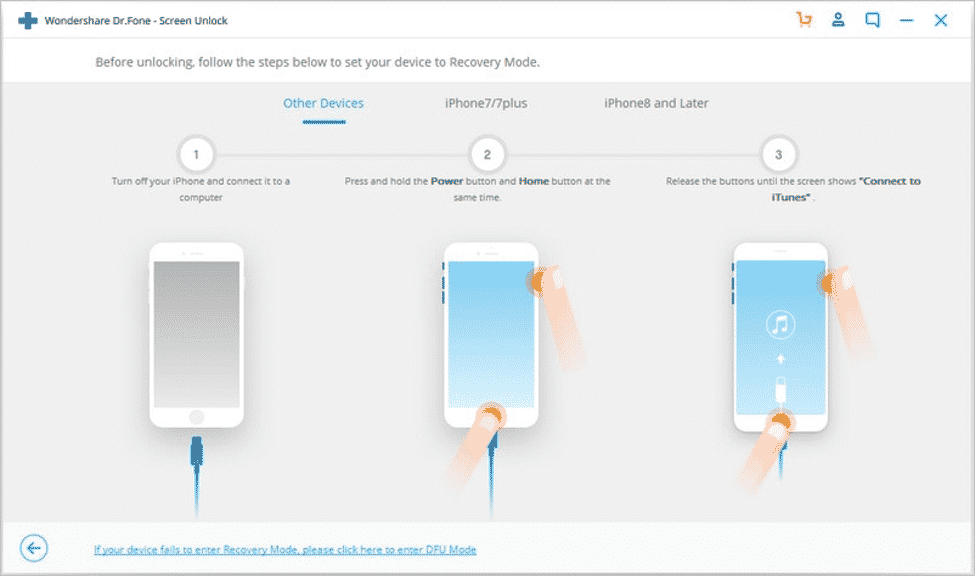
Step 1: Turn off your phone and put the disabled device in recovery mode. You can do this by pressing and holding power and home keys while plugging the device into the computer using a lightning or USB cable. Make sure iTunes is running on your computer.
Step 2: Release the power button while holding the home button until you see the Connect to iTunes option.
Step 3: You’ll be prompted to either restore or update your device. Select Restore.
How to unlock a Disabled iPhone without iTunes using Find My Device
If you’re like most people who find it cumbersome to unlock disabled iPhones via iTunes, there’s another option you can unlock disabled iPhone without iTunes. If your Find My Device feature in iCloud has been activated, you can use it to fix a disabled device by erasing it remotely.
Step 1: Visit iCloud.com and login in with your Apple ID on a computer.
Step 2: Go to Find iPhone in the Launchpad and select All Devices at the top of the browser.
Step 3: Select your device from the list and click Erase iPhone to erase the disabled iPhone and its passcode.
Step 4: Once you’ve finished the reset, you’ll set up your iPhone as a brand new one. You can restore your unclocked iPhone using Setup Assistant and reset a new passcode.
Fastest Way: Dr. Fone – Screen Unlock
If you don’t want to damage your iOS firmware while unlocking your disabled iPhone, then Dr.Fone – Screen Unlock is the tool you need. Dr. Fone is a toolkit that offers a swift and secure solution to fix a disabled iPhone. The tool allows you to unlock all types of iPhone lock screens, such as the Face ID, Touch ID, and the 4/6 digit screen passcode. Besides, Dr. Fone is compatible with all iOS versions.
Step 1: Download and Launch Dr. Fone- Screen Unlock on the system. Select the Screen Unlock option to begin the process.
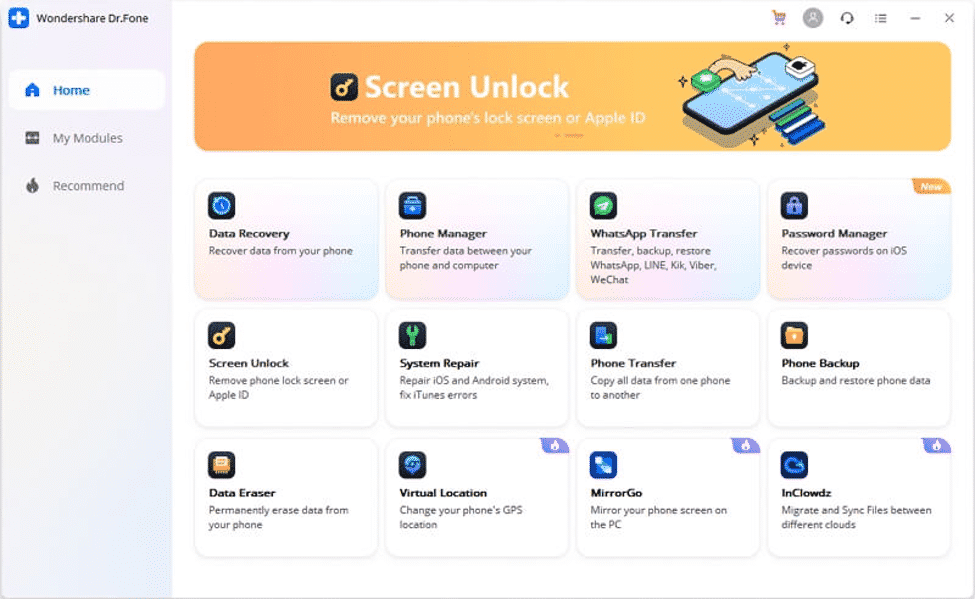
Step 2: Use a lighting/USB cable to connect your device to the system and wait as the app recognizes it automatically. Once the iPhone is recognized, select the “Unlock iOS Screen” option.
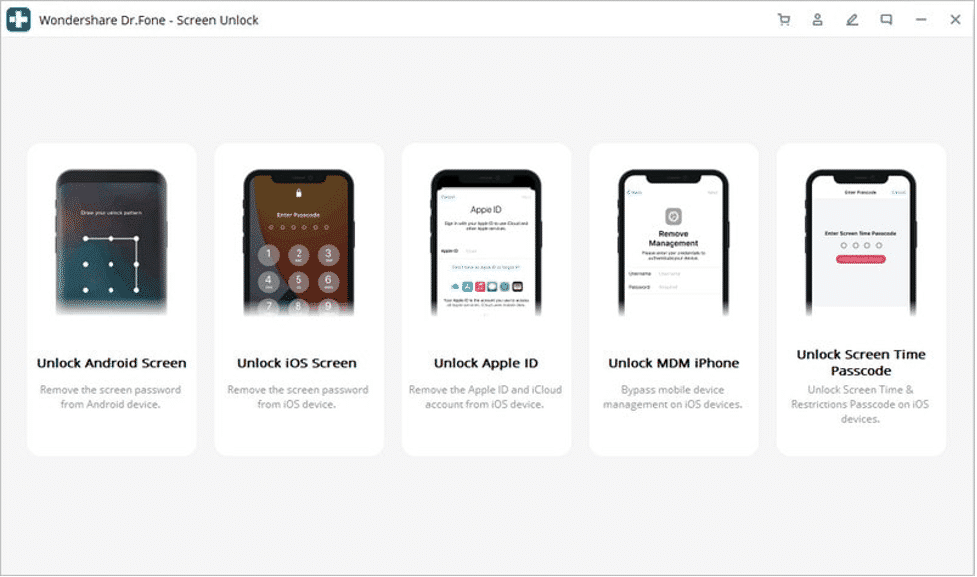
Step 3: Once the device is detected, an interface where to activate your iPhone DFU mode is displayed. Follow the instructions below:
Step 4: Enter the correct information according to your device’s model, firmware version and more. Ensure you’ve entered the correct information before hitting the “Download” button.
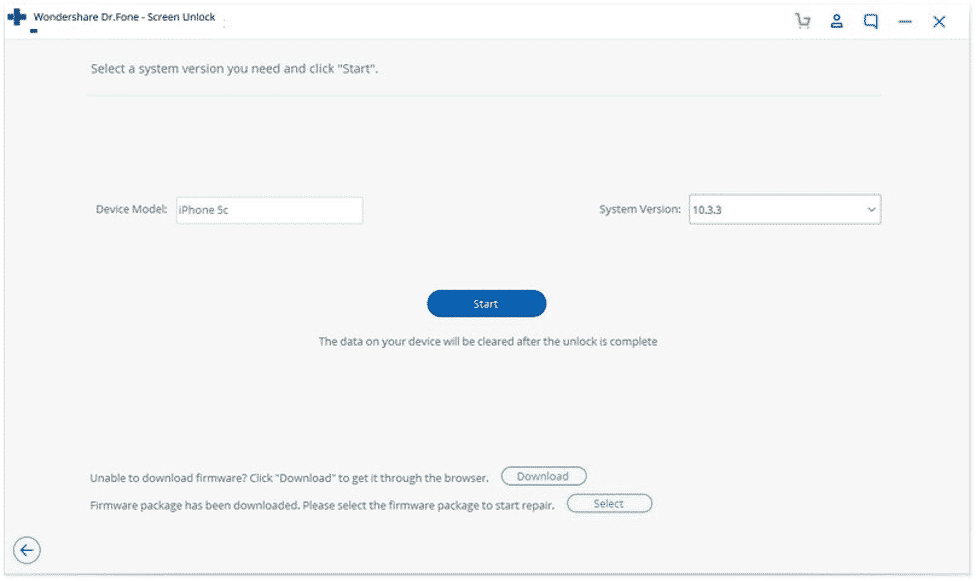
Step 5: The related firmware update for your iPhone will be download automatically. Cclick the “Unlock Now” button once the download is complete.
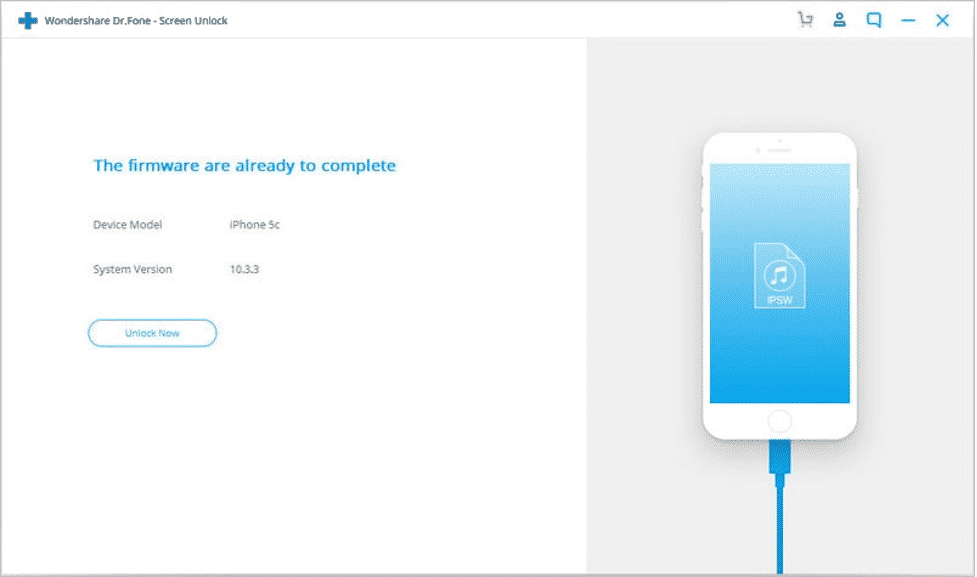
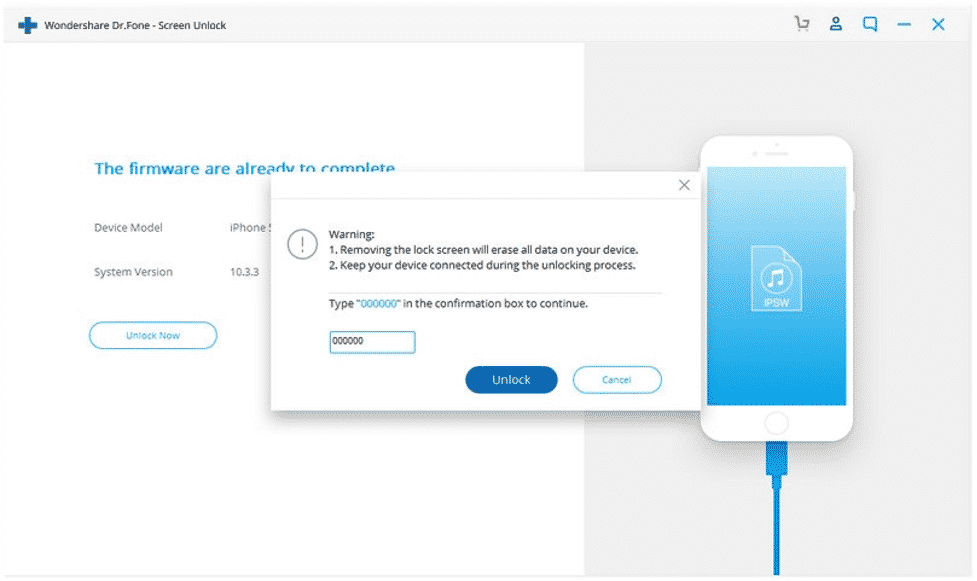
Step 6: Enter the confirmation code from the instructions on the screen to begin the process.
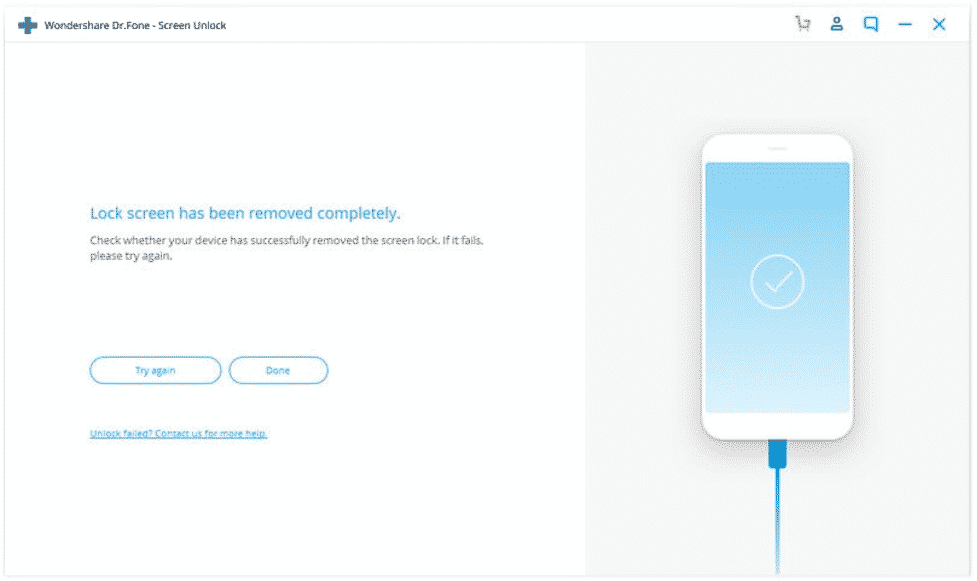
Step 7: Once successful, a notification message as shown below will be displayed:
Conclusion
The process will restore your device as brand new and you’ll have fixed the iPad or iPhone disable issue without iTunes. Dr.Fone can also resolve other numerous issues with your device like iPhone stuck in the recovery loop, malware attack, blue screen of death, and many more. It has an easy-to-use interface that guarantees desired results without any risk of compromising your device.

